Create Meta Mask Wallet
To make a MetaMask wallet, you need to add the MetaMask extension to Chrome. Then, you’ll be able to create a wallet by following the on-screen instructions. The wallet creation process contains 3 steps. This includes creating a password, saving This includes creating a password, saving your backup phrase, and confirming your backup phrase. This is because you need it to import your MetaMask wallet. It’s important that you store your backup phrase in a safe place. Anyone with your backup phrase will be able to steal your Ethereum. After you’ve stored your backup phrase, you need to verify it to create your wallet. Here is how to make a MetaMask wallet
First Go to Metamask where you can click on the “Download Now“ button. Choose your preferred way of installing the MetaMask extension.
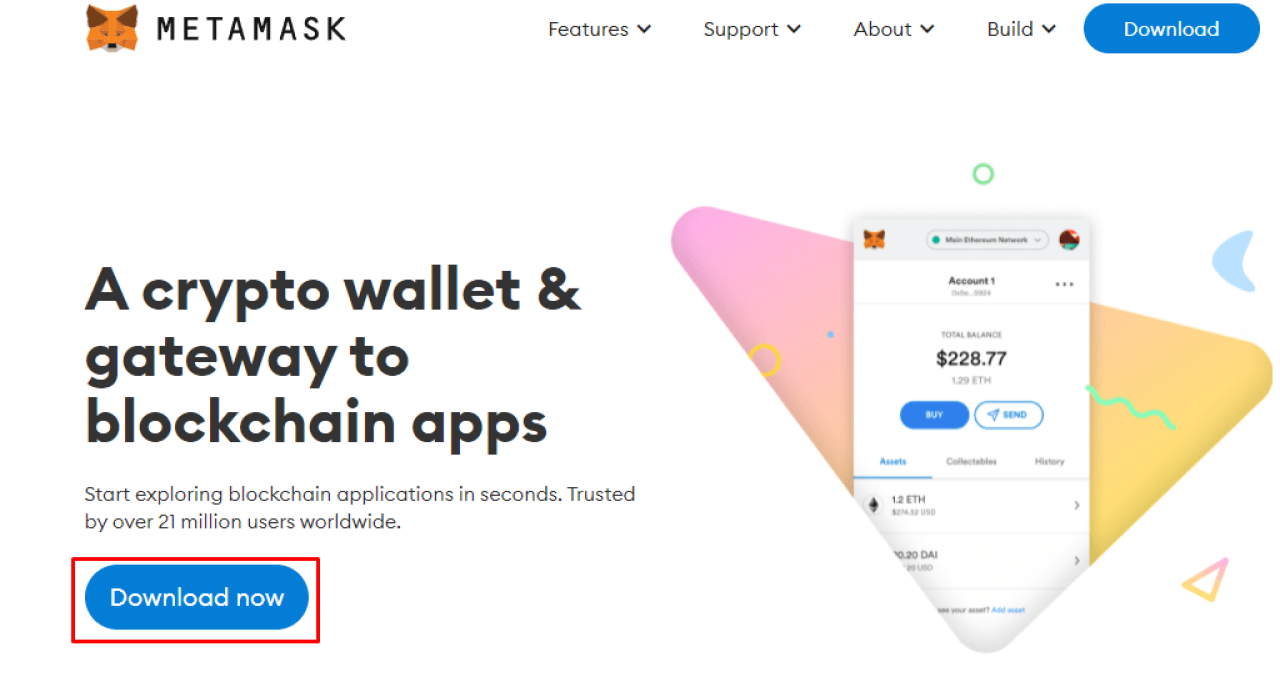
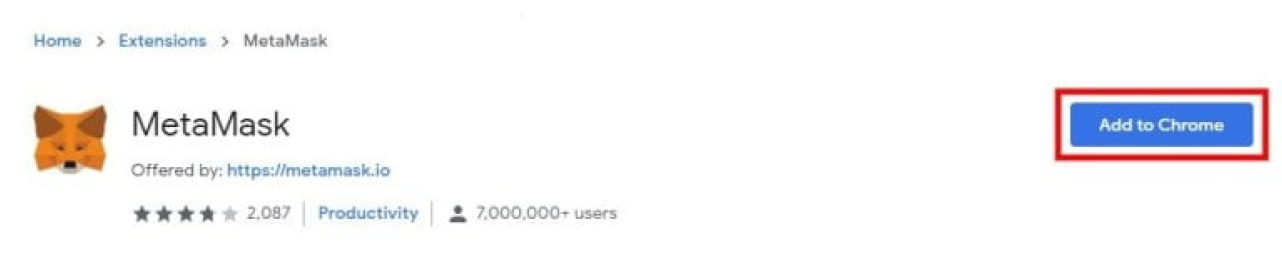
Before you can create a MetaMask wallet, you need to add the MetaMask extension to Chrome. In this guide, we’ll create a MetaMask wallet on Chrome instead. To begin with, you need to install Chrome on your PC if you haven’t already. Next, search for “MetaMask” on Google and click on the first search result that says, “MetaMask”. Then, click on “Download” on the MetaMask website. Alternatively, you can click on this link to go to the MetaMask extension: METAMASK Once you’re on the extension, you need to add it to Chrome. Click on “Add to Chrome” to add the MetaMask extension to Chrome.
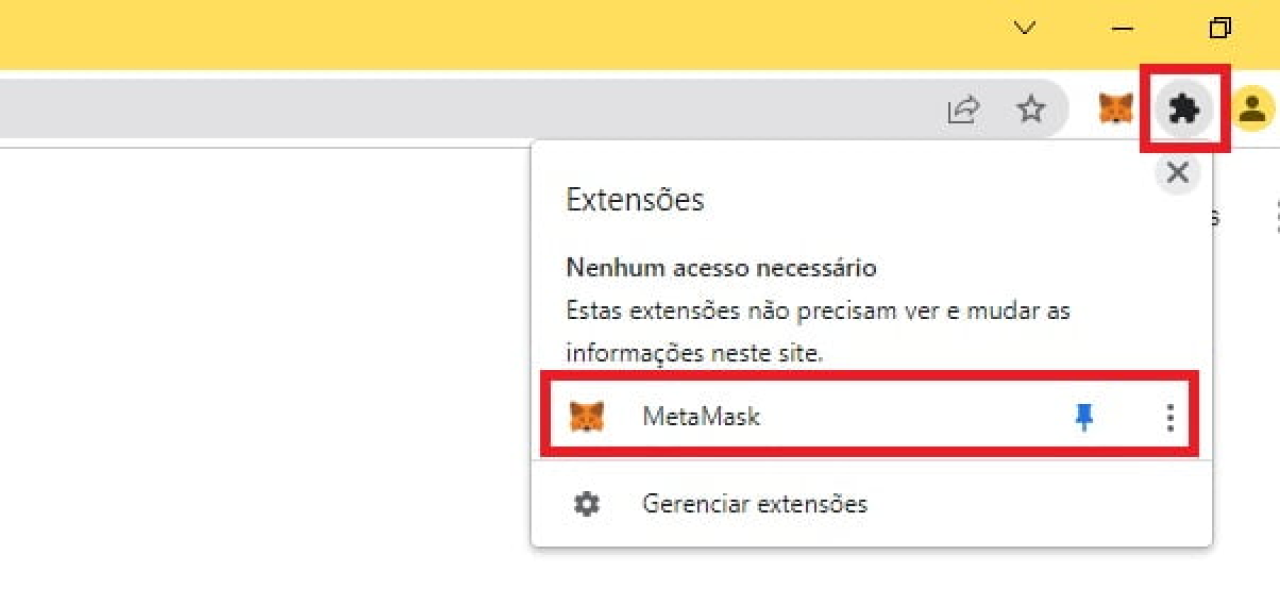
Once you’ve added the MetaMask extension to Chrome, you need to open it. Click on “MetaMask” to open the MetaMask extension. addition, you can pin MetaMask to your toolbar by clicking on the pin icon.
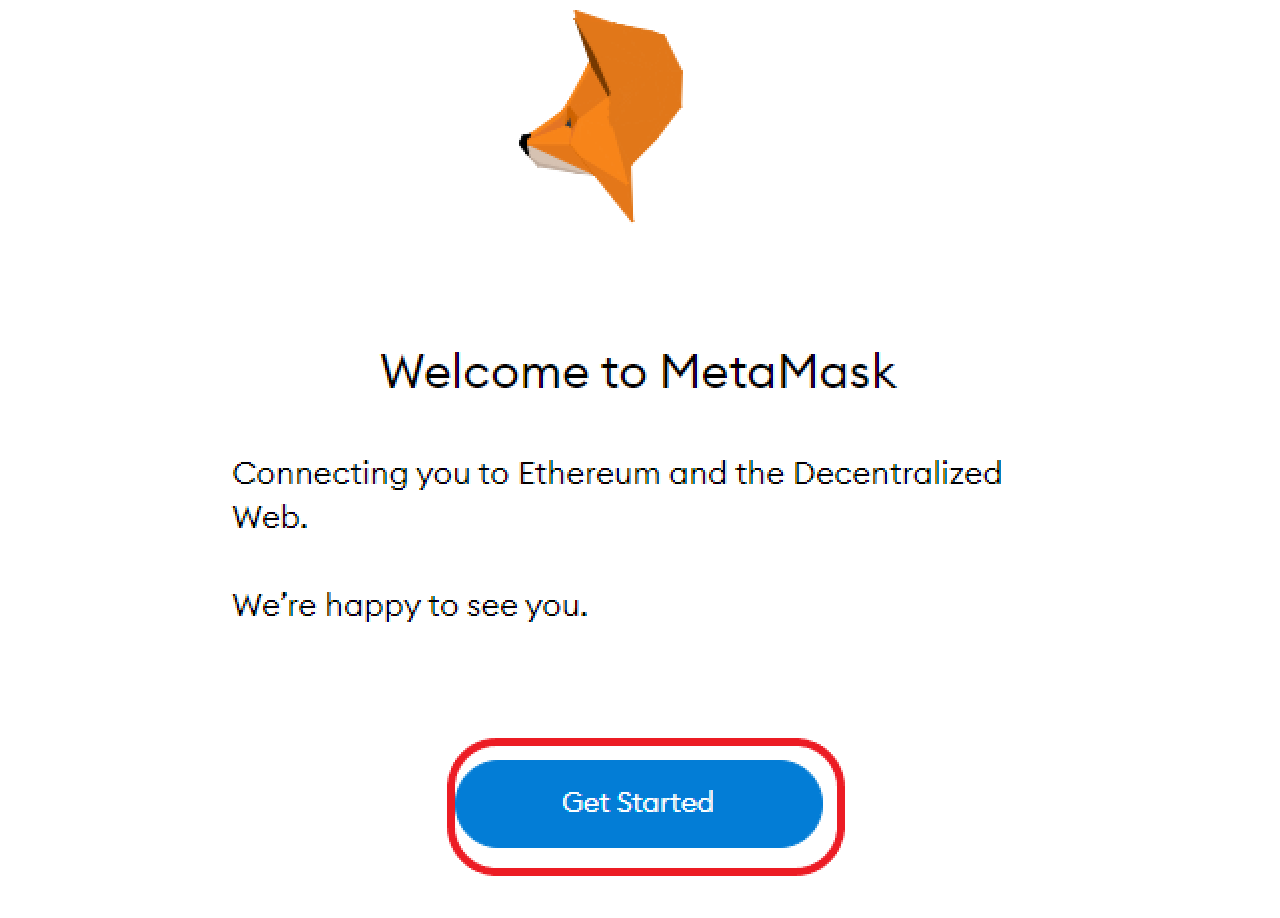
After you’ve clicked on the MetaMask extension, you’ll land on the “Welcome to MetaMask” page. On the page, you’ll be greeted with a welcome message. You’ll also see a button that says, “Get Started”. Click on “Get Started” to begin creating your MetaMask wallet.
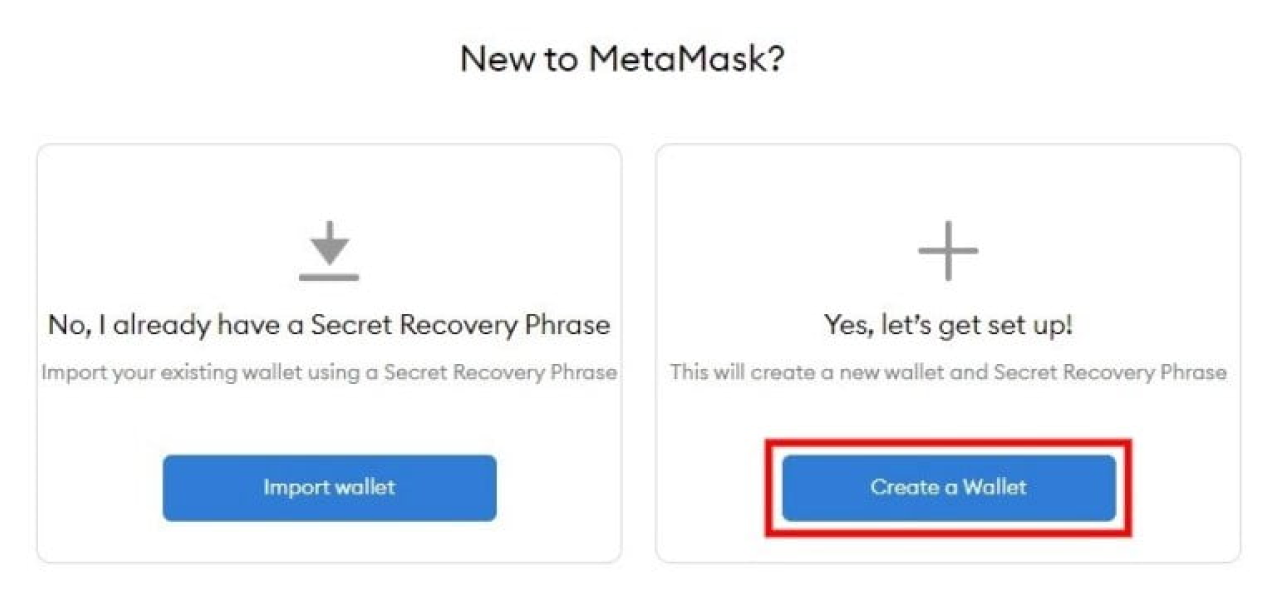
After clicking on the “Get Started”, you will land on the “New to Metamask” page. On the page, you see two options. One is “No, I already have a Secret Recovery Phrase.” If you have already created a Metamask Wallet then this is the right option for you. Then click “Import Wallet” The second one is “Yes, Let’s get set up!”. This will create a new wallet and Secret Recovery Phrase. If you are creating a Metamask Wallet for the first time then this is the right option for you. Since this article is written for someone who is setting up their Metamask Wallet for the first time, click on “Create a Wallet” to create a new MetaMask Wallet.
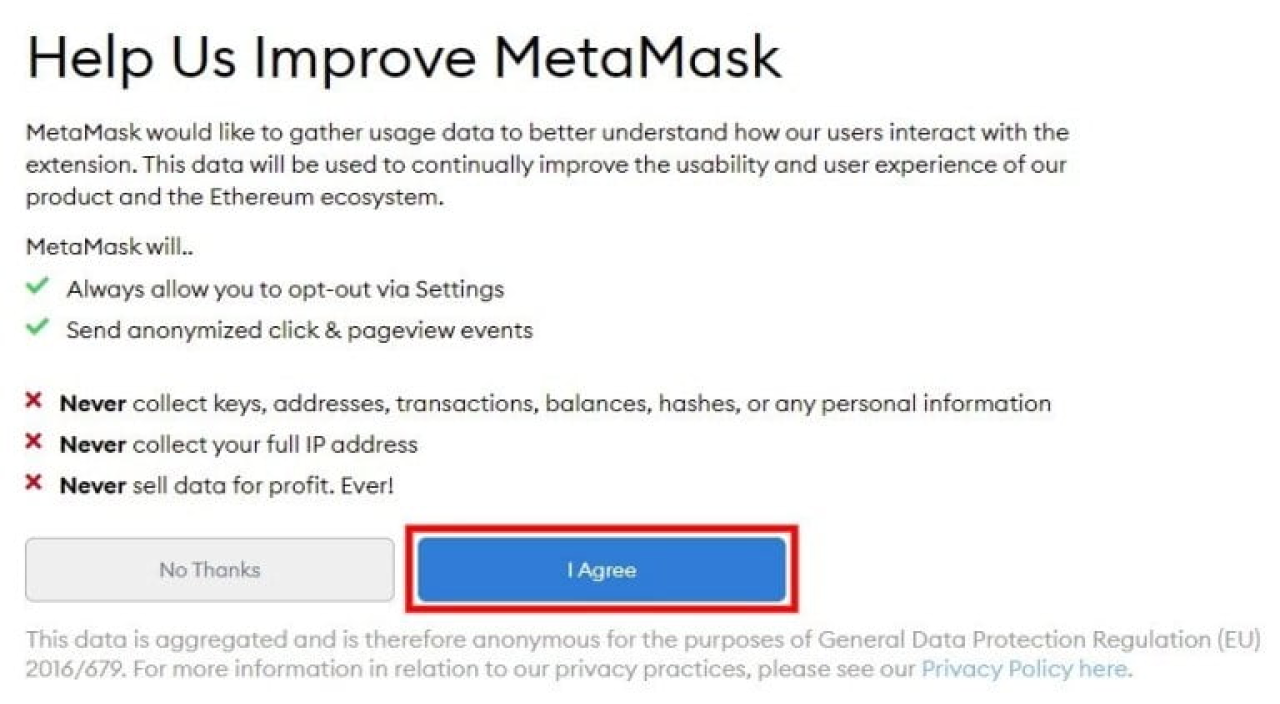
On the “Help us improve Metamask page” Before creating a MetaMask Wallet you have to agree to the Terms and Conditions. You can read out all the rules like how Metamask stores and collects events. After reading all the necessary descriptions you Select the “I Agree” button.
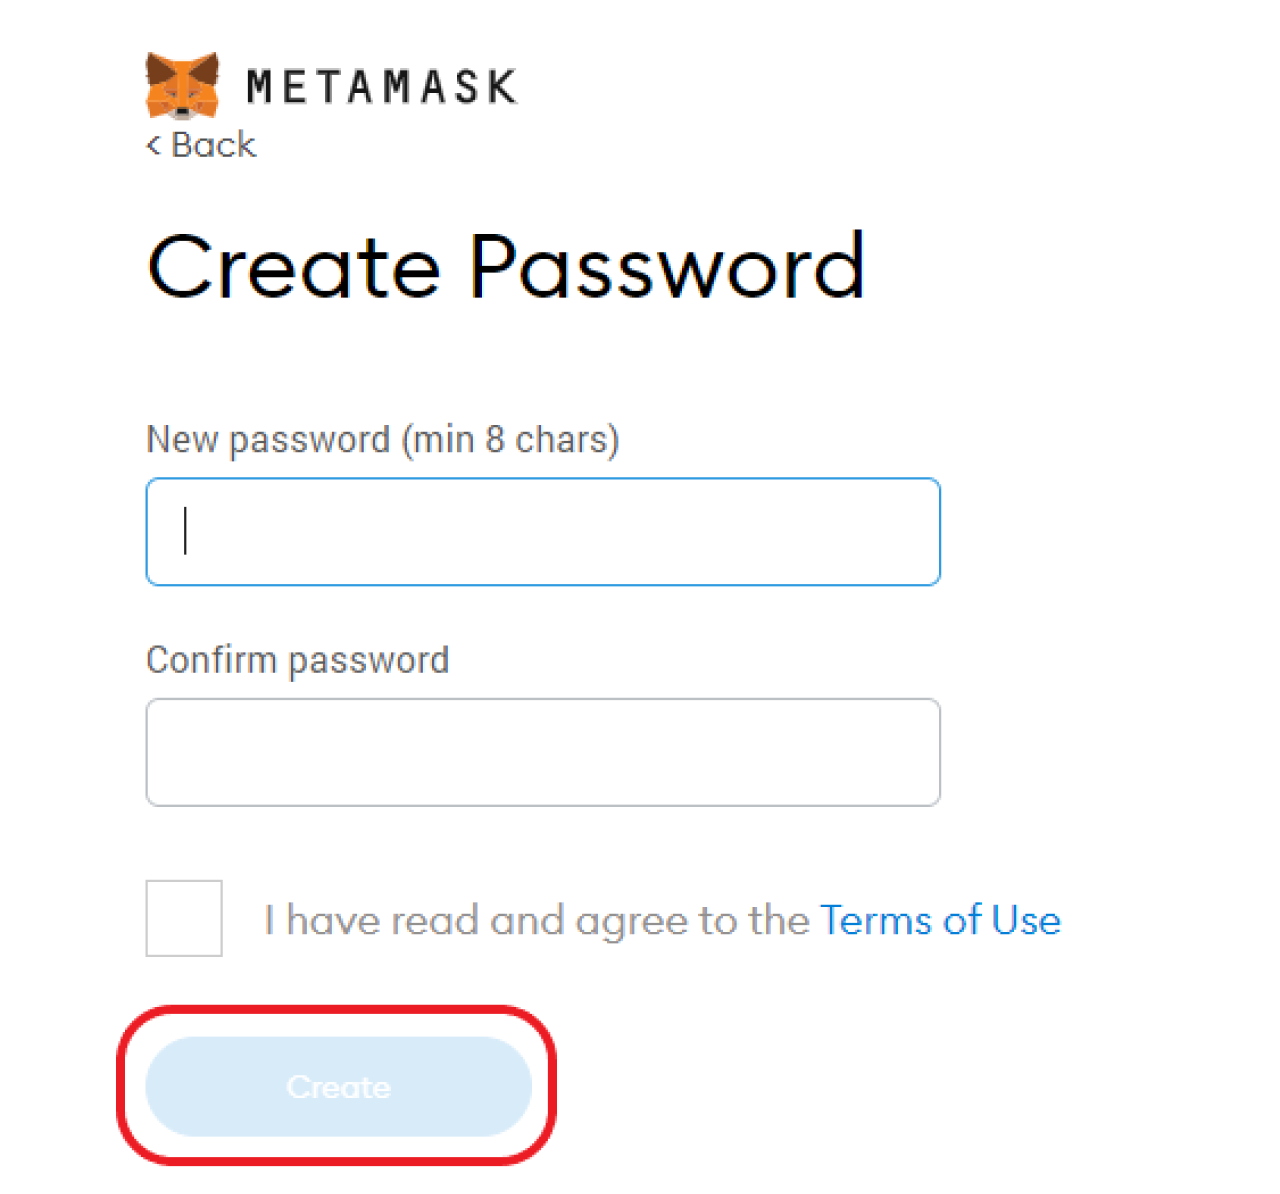
After you’ve clicked on “I agree”, you’ll land on the “Create Password” page. On the page, you need to create a password for your MetaMask wallet. Firstly, create a password and enter it in the “New password” field. Keep in mind that your password needs to contain a minimum of 8 characters. Next, re-enter your password in the “Confirm password” field. Then, your need to read and agree to the Terms of Use. Lastly, click on “Create” to create a password.
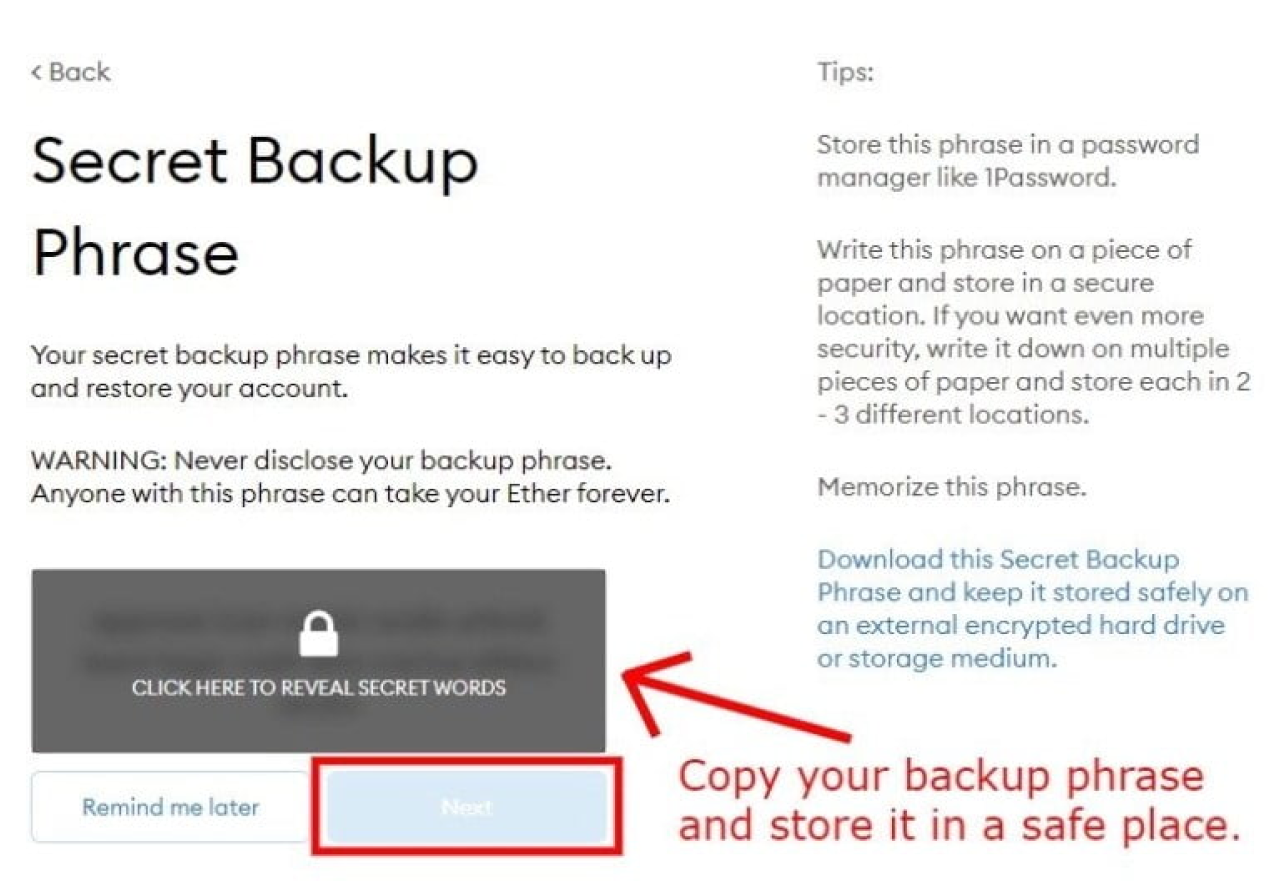
After you’ve created a password, you’ll land on the “Secret Backup Phrase” page. In this step, you’ll be given a secret backup phrase. Your secret backup phrase allows you to import your MetaMask wallet. Firstly, click on the lock icon to reveal the secret words. Then, copy your backup phrase and store it in a safe place. There are a couple of ways to store your backup phrase. This includes storing it in a password manager or writing it down on a piece of paper. Do not disclose your backup phrase as others will be able to steal your Ethereum. Once you’ve stored your backup phrase in a safe place, click on “Next” to proceed to the next step
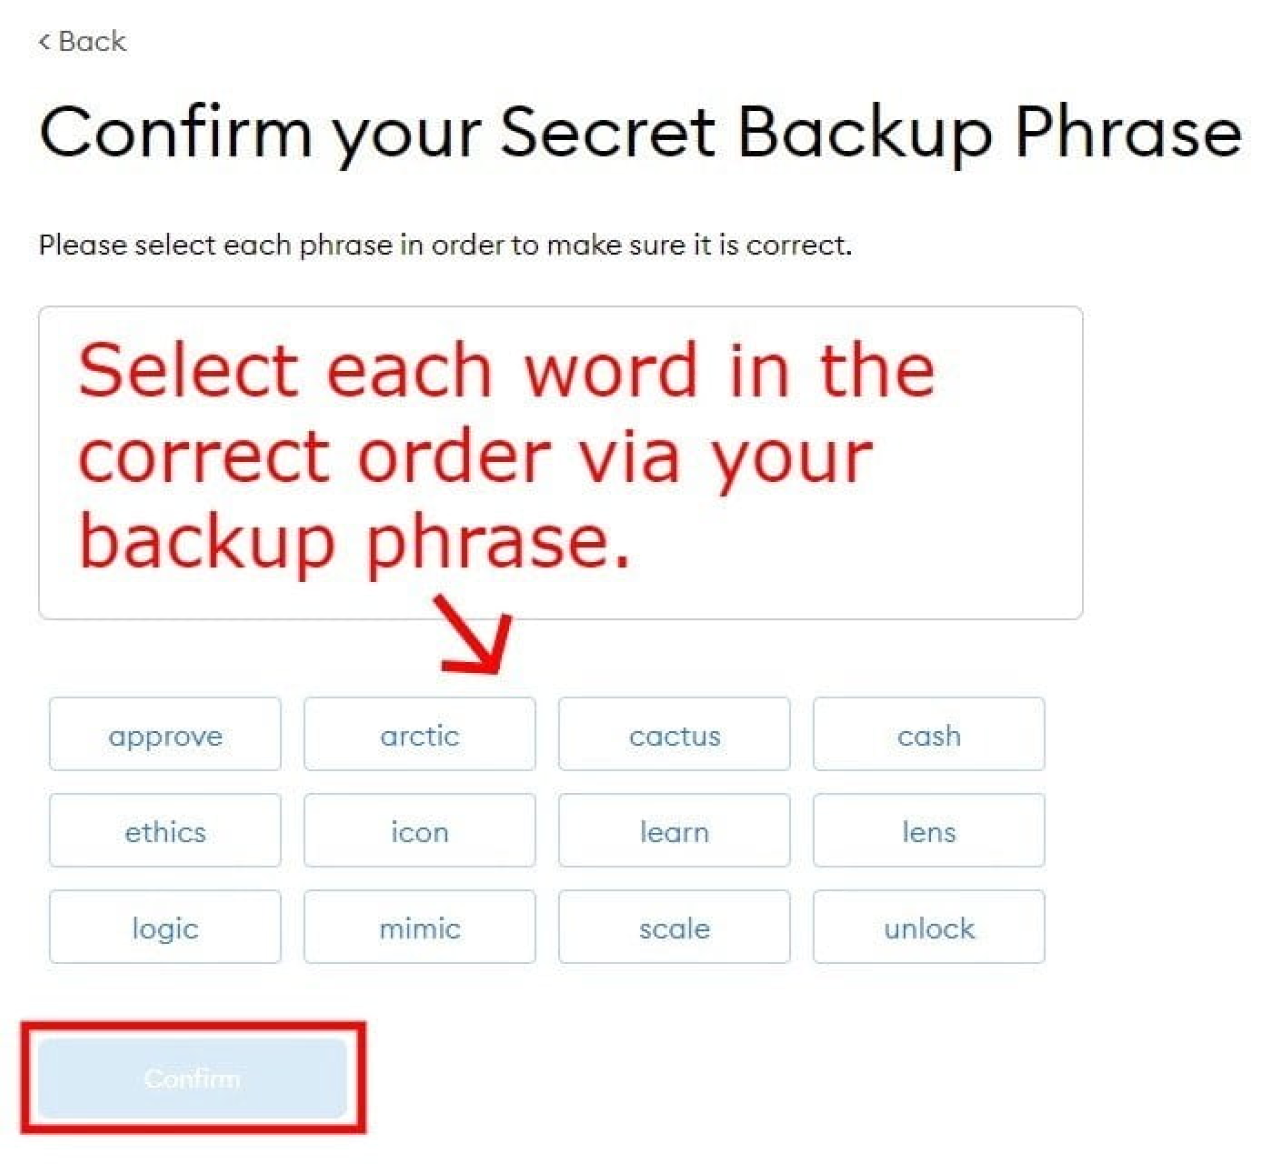
You have to select each phrase incorrect order exactly like secret phrases which are displayed in the previous steps. Make sure that you have selected each phrase in order and double confirm it. After entering each phrase in exact order according to your secret recovery phrases. Then you can click “Confirm” to move forward to the next step.
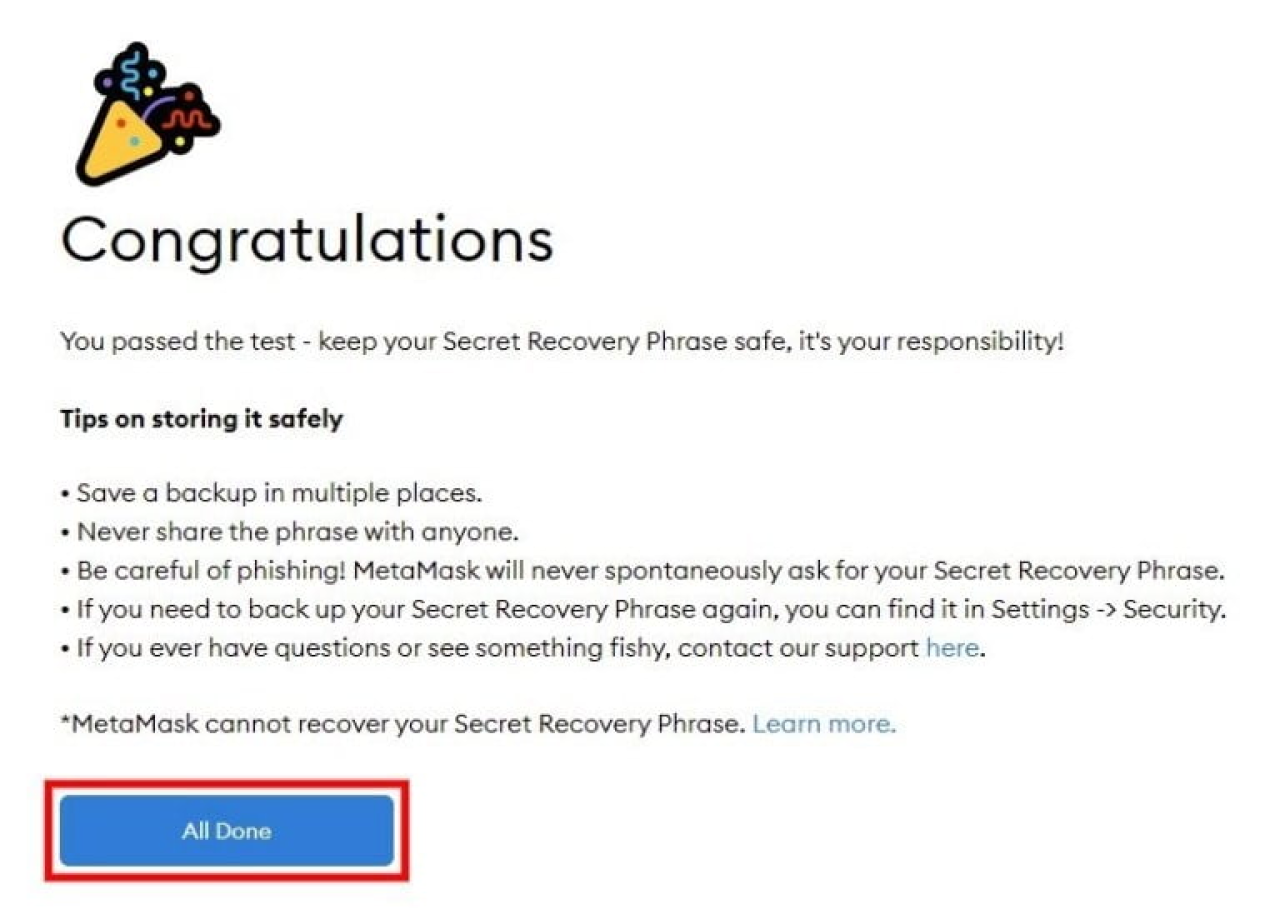
Congratulations, you have completed all of your steps properly. Click on “All Done”, after that you can right now start using Metamask. Now you are able to send and receive Ethereum from your Metamask wallet.